Unity's Line Renderer component provides a flexible and efficient way to visualize lines within your 3D environments. From simple connectors to intricate particle trails or stylized lasers, the Line Renderer opens up a wide range of creative possibilities for game developers. In this blog, we'll delve into the workings of the Line Renderer, its common uses, and explore practical C# examples.
Fundamentals of the Line Renderer
What is it? The Line Renderer is a Unity component that draws lines in 3D space. You define lines by providing an array of positions (Vector3 values). The Line Renderer then smoothly connects these positions to form a continuous line.
How to Add a Line Renderer
Create a new GameObject in your Unity scene.
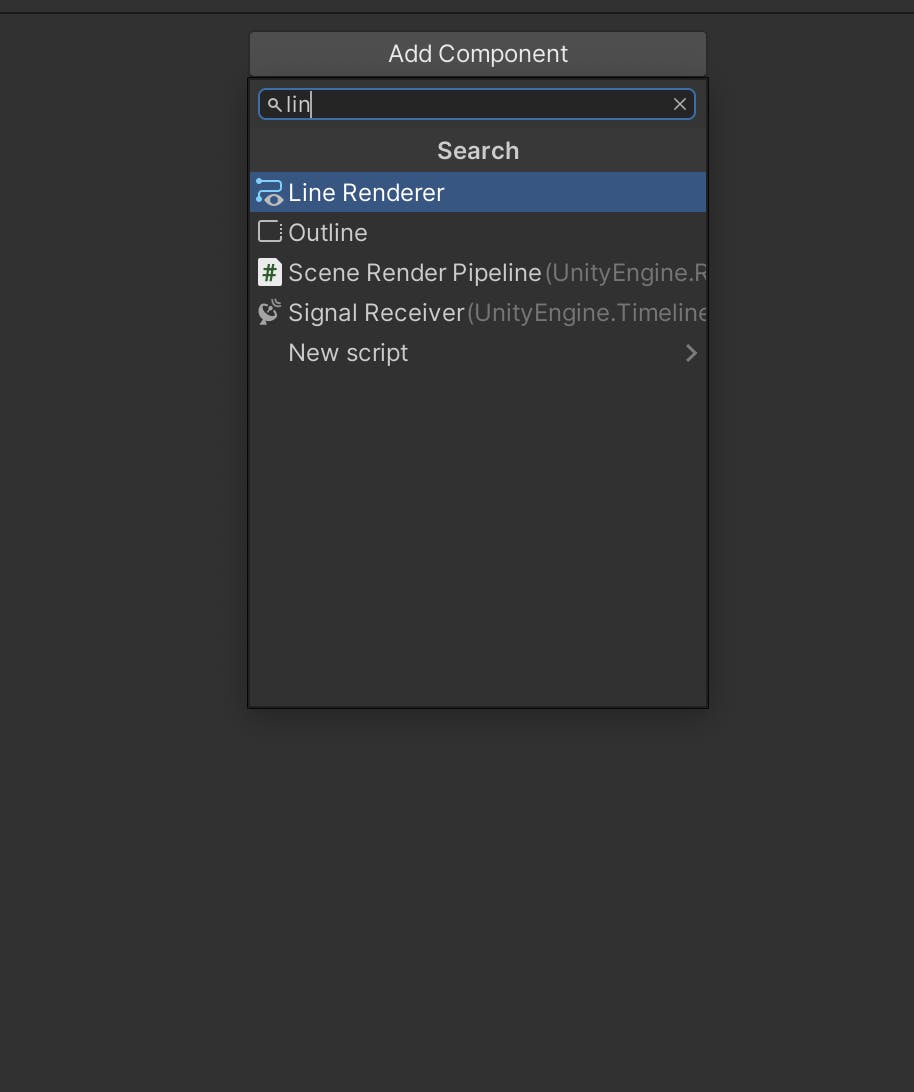
Add the Line Renderer component to the GameObject (Component -> Effects -> Line Renderer).

Key Properties of the Line Renderer
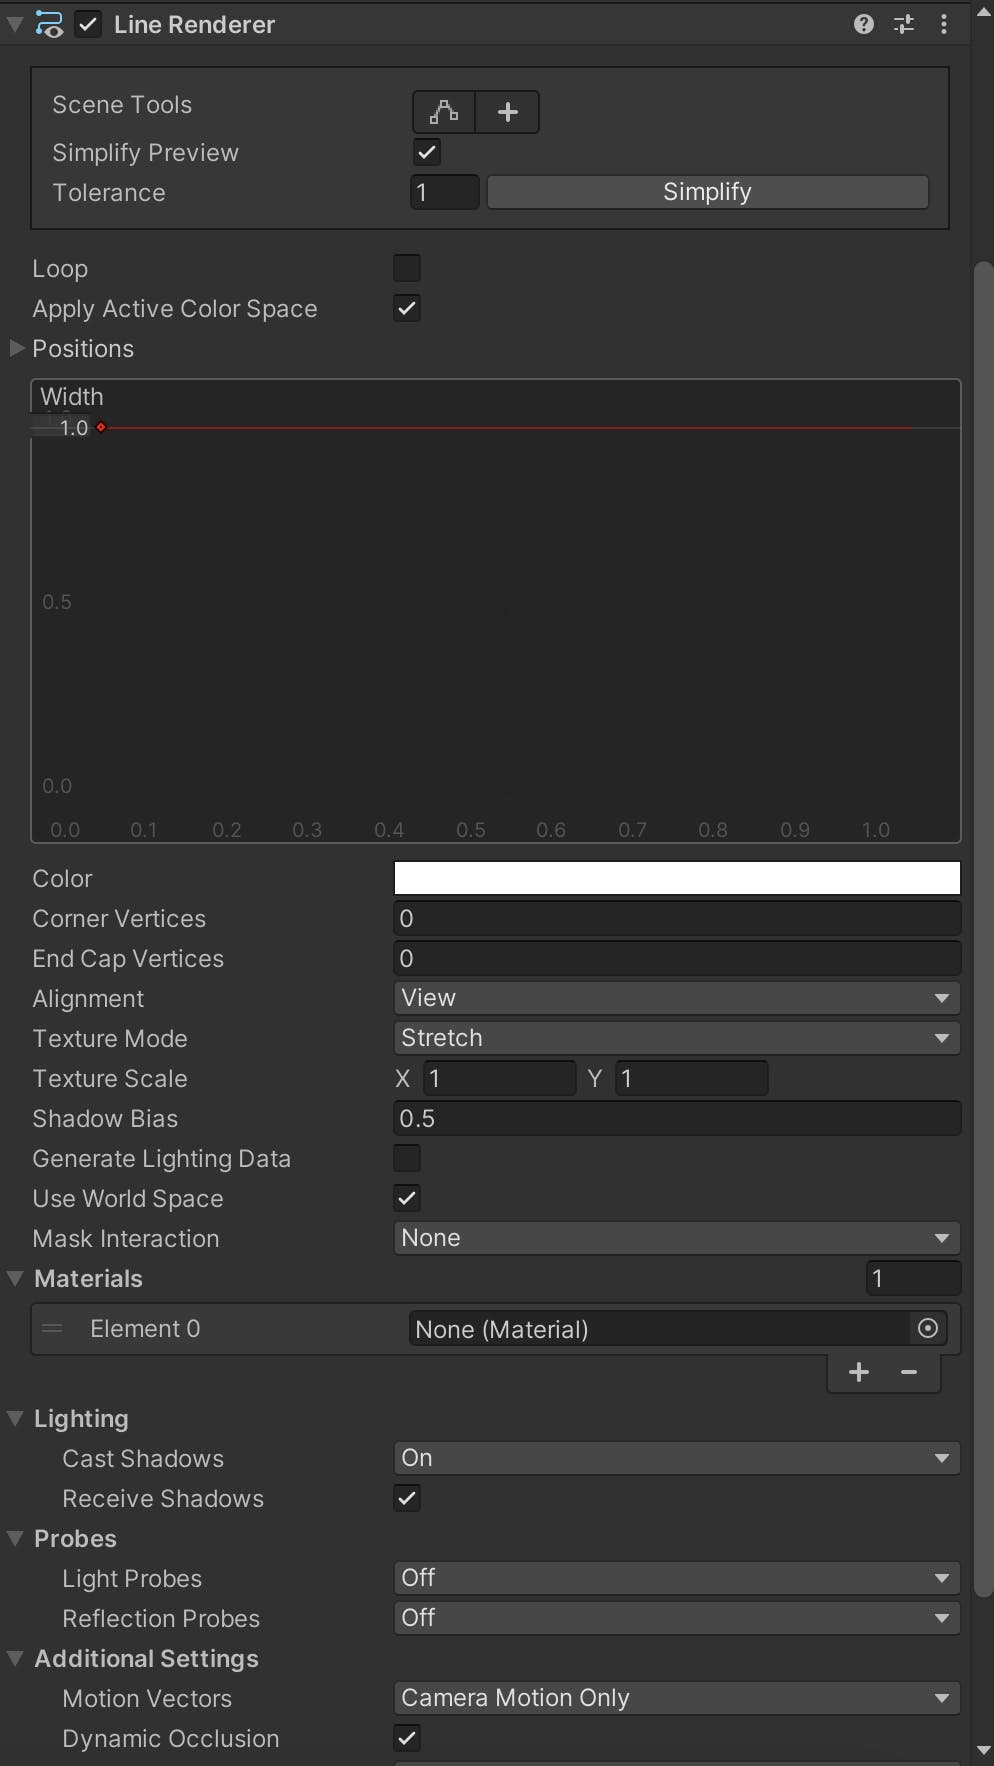
Positions: An array of Vector3 values defining the points through which the line passes.
Width: Controls the thickness of the line. You can have a uniform width or set a width curve to vary it along the line's length.
Materials: The material(s) applied to the line. Materials determine the color, texture, and visual effects of the line.
Color: You can use a single color or a gradient to create color variations along the line.
Loop: A boolean property that determines whether the line forms a closed loop (connects the last point to the first).

Common Applications of the Line Renderer
Lasers and Beams: Line Renderers are perfect for simulating lasers, energy beams, and other directed energy effects.
Projectile Trajectories: Visualize the anticipated path of projectiles using a Line Renderer, providing helpful aiming assistance for players.
Trails: Represent the motion of objects by leaving a trail behind them using a gradually fading Line Renderer.
Path Visualization: Guide players or AI entities by defining paths or directions using the Line Renderer.
Drawing Tools: Allow users to draw lines or free-form shapes within your game or application.
Data Visualization: Use Line Renderers to create charts, graphs, and other data visualizations directly within your 3D scenes.
C# Code Example: Creating a Dynamic Line
Let's illustrate how to use the Line Renderer in a C# script. This example will draw a line that follows your mouse cursor.
using UnityEngine;

public class DynamicLine : MonoBehaviour
{
    public LineRenderer lineRenderer;
    public Transform target;

    void Update()
    {
        // Set the start point of the line
        lineRenderer.SetPosition(0, transform.position);

        // Set the end point of the line
        Vector3 mousePosition = Camera.main.ScreenToWorldPoint(Input.mousePosition);
        mousePosition.z = transform.position.z; // Fix Z depth
        lineRenderer.SetPosition(1, mousePosition);
    }
}
Tips and Best Practices
Experiment with different materials and shaders to achieve unique visual effects.
Line renderer width has a performance impact, particularly when drawing many lines.
For complex, winding lines, use more positions for smoother curves.
Consider using object pooling to improve performance if you're dynamically creating and destroying Line Renderers frequently.
References
Unity Manual: Line Renderer Component https://docs.unity3d.com/Manual/class-LineRenderer.html
Unity Scripting API: LineRenderer https://docs.unity3d.com/ScriptReference/LineRenderer.html
Let Your Creativity Flow The Line Renderer is a deceptively simple yet incredibly versatile tool within Unity. Embrace its capabilities, and you'll discover endless ways to enhance the visual richness and interactive elements of your game projects.
Please let me know if you'd like more examples or focused explorations of specific Line Renderer use cases!

